
Yay! You’re just a few steps away from a gorgeous wall makeover.
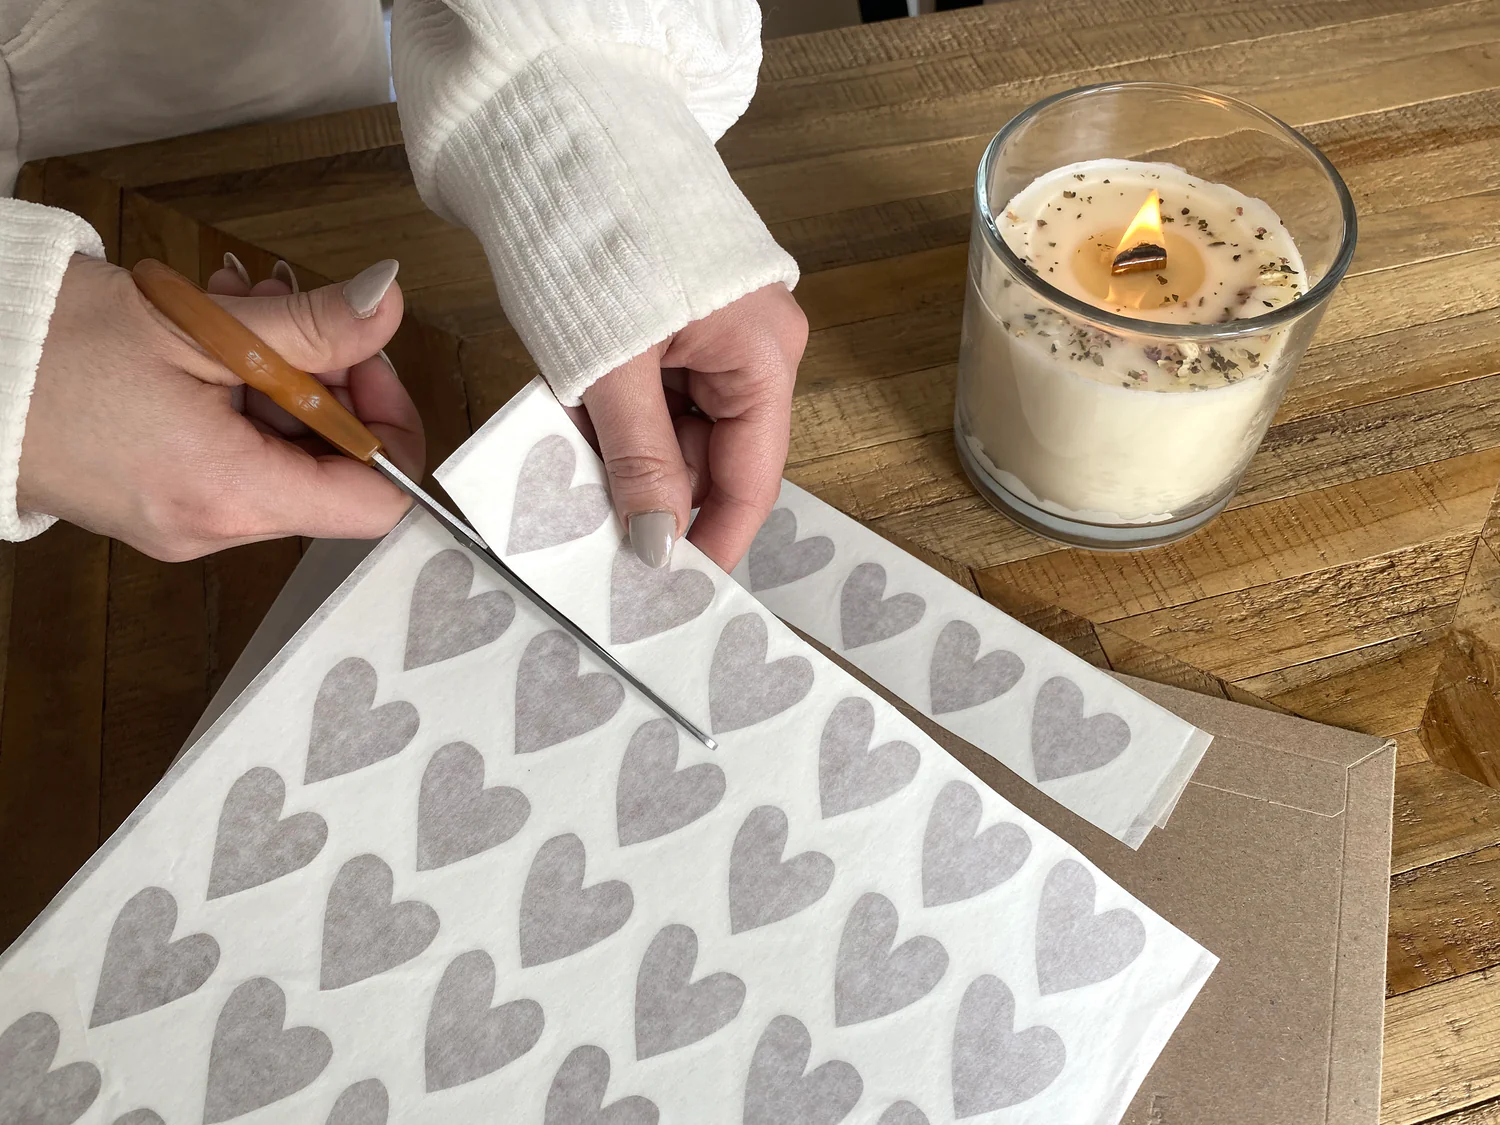
STEP 1.
Put on some tunes and begin roughly cutting out the decals leaving some space around each shape.
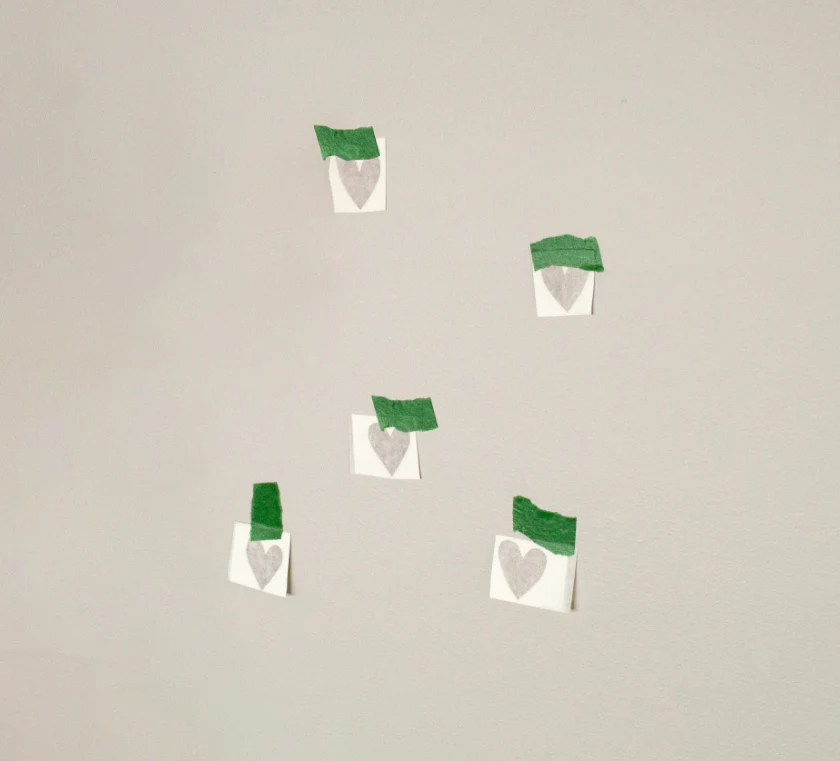
STEP 2.
Using pieces of painter’s tape, place the decals where you want them on your wall. Don’t skip this step! Since our decals aren’t reusable, it’s best to test out your layout before installing them. If you want them to look evenly spaced out, we recommend using a level. You could also juxtapose some decals for a laid back feel. The possibilities are endless!

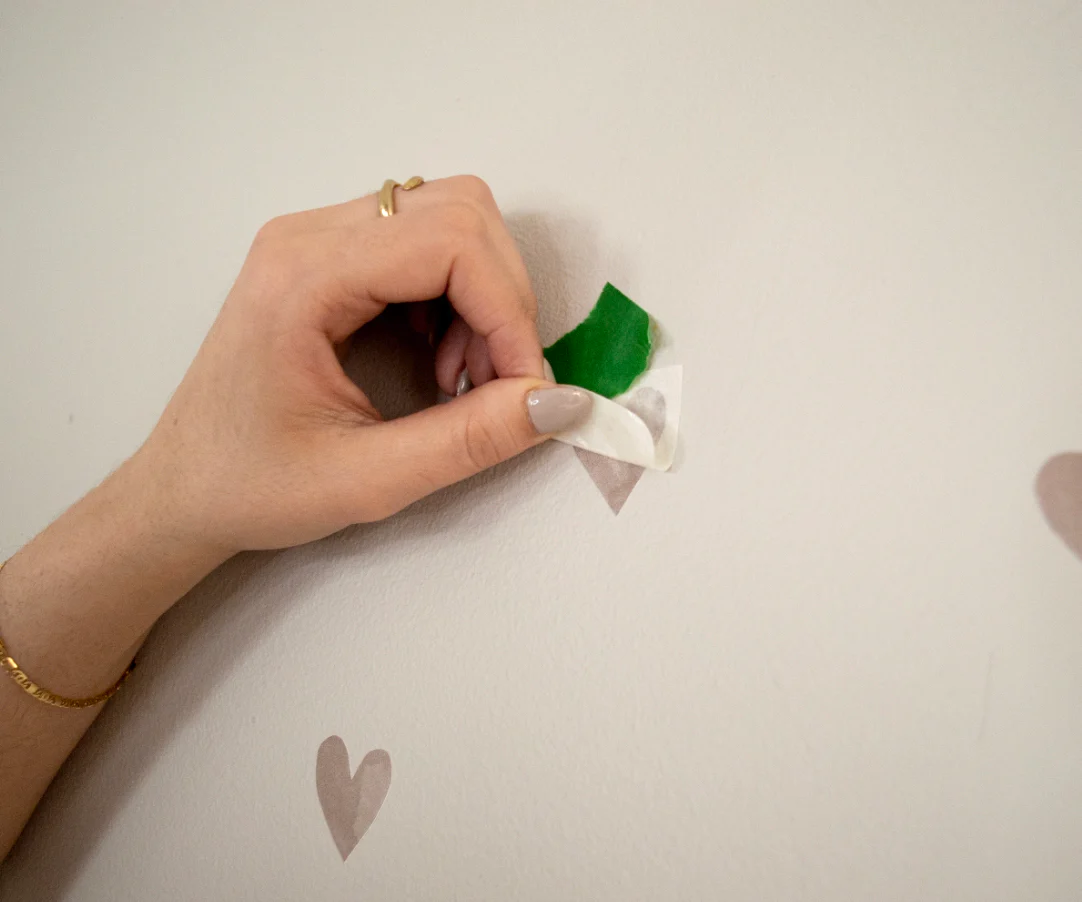
STEP 3.
Once you’re loving your layout, fold back a corner of the decal while keeping it taped to the wall. Gently remove the backing. Affix the decal to the wall by firmly pressingyour fingersor the smoothing tool down in an outward motion. If parts of the backing are stuck, press on the transfer tape side and it should easily come undone.
STEP 4.
Gently begin to remove the white transfer tape layer by pulling at a 45°angle.
STEP 5.
Marvel at your masterpiece!